Once launched "CamApp" from Option ->Video capture pin -> We can set the output resolution.
For example 800x600.
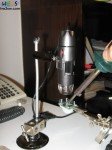
In order to get the maximum distance between PCB and microscope i set the "zoom" factor to 20X.
I was able to get a 2,3 cm distance between microscope and PCB which i think it is plenty in order to place a soldering iron.
The refresh rate of the microscope at 800x600 was really decent at least on my Intel i5 3.3 GHz with 16 GB of ram.
I am pretty sure that i got 30fps at 800x600 using "CamApp" without any problems at all.
Below you can see some pictures in order to get a better idea of the distance :
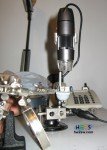
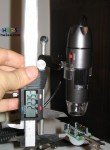
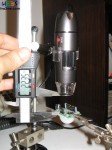
I must admit that i did not soldered with this microscope but below are two photos of a soldering iron showing the maximum angle you can get.
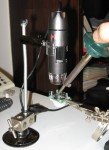
Using the option "Capture->Still image capture" from "CamApp" i managed to get decent photos of what i was seeing in my desktop screen.
Below you can find some pictures taken with the "CamApp" software .
I only converted them into jpeg since the tool outputs bitmaps (bmp).
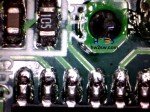

Notice that CamApp always stores the captured photos at "My documents" location, in BMP format with resolution 1600x1200.
Using the "Measurement" application you can measure distances from the captured "CamApp" photos.
In order to make correct measurements you need to do some calibration.
Using the given "Calibration rule" take a snapshot like the one below.

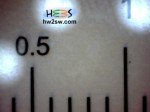
Once saved the "Calibration snapshot" load the bmp file into "Cooling Tech" application (Files->Open image)
Now hit "Operation->Ruler" and we do some calculations like the picture below :
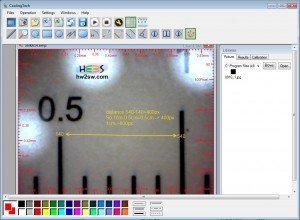
The calculations are written in yellow.
Now just hit the "calibration" tab. Click the "Add" button and give the needed values.
In our example we have :
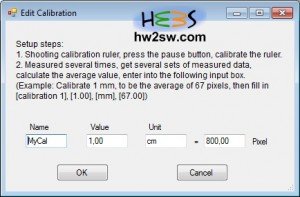
We are ready to measure distances with "Cooling tech" !
Below are two video demonstrations made with CamApp.
The first one is at 800x600 resolution and the second one is at 1280x960
Both videos are edited with Foto2Avi (x264 codec is used at 14000 kbps).
Notice that this microscope has a 4:3 aspect ratio.
I move on purpose a lot the PCB board in order to get a feeling of the refresh rate of the microscope.
Into my personal opinion this USB microscope is a decent gadget at least for presentation.
Under conditions can be used for soldering i think.
For sure is a great tool for inspection and trouble shooting.
The led brightness adjustment wheel is a great feature too.
I hope that this presentation helped you to make your decision.
Pingback: Microscopy Tutor, Online or CD-ROM (Tutor) | WWW.DINFOBLOG.NET