Now we are ready to fire up Hyperterminal.
Use the same COM port found before in order to connect with your firewall device.

Now use the settings below :
Baud rate: 38400
Data: 8 bit
Parity: None
Stop: 1 bit
Flow control: None
Terminal: ANSI

Now apply power to the ALIX. If you are connected correctly, you should start to see the ALIX BIOS text.

While the BIOS is going through the memory test press the “s” key to enter the BIOS setup.
If have successfully entered the BIOS setup, you should see the text with some different options.
Do the following:
Press “9" to set the baud rate at 9600
Press “q” to quit the BIOS setup
Press “y” to save the settings to flash
If you start seeing gibberish ASCII characters instead of text , while booting, then you need to set your terminal emulation software (hyperterminal) to 9600 baud instead of the 38400 we set it at earlier.
Now reboot the ALIX by unplugging the power then plug it back.
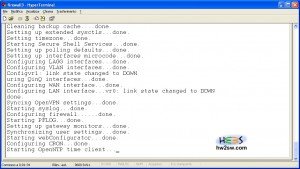
If all goes well and pfSense discovers your hardware, then you are good to go.

To get started, you need to:
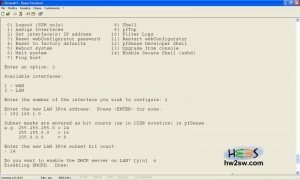
Press 2 for "Set interfaces IP address"
Now in the sub menu select 2 to choose LAN
Give a LAN IP address for example : 192.168.1.3
Select submask "24" for a submask 255.255.255.0.
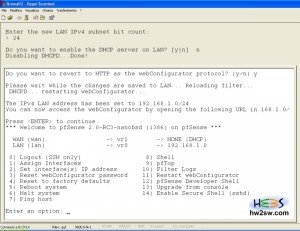
Do you want to enable DHCP? press n for no

Do you want to revert HTTP as webconfigurator protocol? Press y for yes
Now you are ready to connect with your firewall through any browser using the LAN IP address given by you.
Once you plugged the LAN interface into your network, then fire up your web browser and surf on over to the IP address you gave for the LAN interface (http://192.168.1.3)
Log in to pfSense using "admin" as user and "pfsense" as password.
That's all for now.
Thank you!