The beauty of micro controllers is that some operations can be achieved in more than a single way.
When you buy them you generally get them free of any software or - better - firmware, totally virgin and ready only to be inserted onto your board.
Sometimes they are bootloaded, that's necessary to communicate with some other specific hardware: ATMega is a good example.
Thanks to Arduino board's popularity is easy to find ATMega microcontrollers directly set to work with it.
But what if not bootloaded? We have one answer and more: one here (the BitBang mode), one here (Arduino as ISP).

In this article we're describing an external, much more professional and secure method to do the job: USBtinyISP programmer.
By definition, a programmer does what the name says; by reality, every kind of microcontroller needs a specific programmer, able to respect and to produce the correct and specific electrical signals sequence.

USBtinyISP hosts on itself a working microcontroller to program any virgin AVR core chip (ATtiny, ATMega families) put onto Arduino.
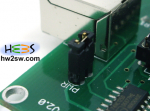
Power supply comes from PC-USB connection, which all informations can be loaded through during the bootloading operation. You see on first picture a jumper: it's required to give a 5V power supply to target board; Arduino wants 5V.


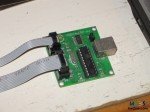
 From USBtinyISP two cables can go out: a 6 pins and a 10 pins.
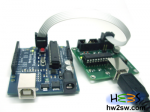
We use the first one because Arduino has just 6 pins for this goal.
Correct way to interconnect boards is shown beside: to be sure start from USBtinyISP board (red thread outer) and then on Arduino according with the scheme.
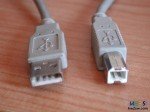
 Last thing: USB cable is a from A to B type (male-male), and 2.0 version the most common actually available.
See picture beside (A on left, B on right)
